Showing posts with label perfect pearls. Show all posts

Thursday, September 6, 2012

Thank You Laine--Quilled Flowers Card

Now that Laine received the thank you card I sent to her for sending all of those awesome prizes over to me, I can post it! Though I've been able to do it for a few days now I just haven't had the time to sit down and get it out there! 

The larger petals were made by husking quilling paper. Centers are dabbed with Versamark ink. Sentiment looks a bit off because I wanted to create a shadow as well as use Perfect Pearls to make it shimmer, but it didn't turn out quite as clean as I wanted it to look. Circles in the background were die cut and spread out. The two on the right were dabbed in gray ink. 

Can you believe it is September already? Does time seriously fly faster and faster as you get older? 

This card is entered in:
-Spark Your Creativity Now! #1 Anything Goes
-Inky Impressions Anything Goes
-Tuesday Alchemy -Anything Goes
-Make it Monday - Anything Goes
-Challenges4Everybody #2 Anything Goes

Tuesday, July 24, 2012

Vintage Key to My Heart Card

Hello everyone! It has been busy all around--summer days fly by especially quickly don't they? All of the heat is making my cats very inactive during the day, but it has been quite the opposite for me. :D 

Each week there are free live concerts at the park near my home. I would like to attend one, but my boyfriend is working in Pennsylvania during the weekdays now so I feel like all the mood is gone when I come home from work. Do you ever feel that way?--you want to do something, but going alone is just not as fun as with your partner so you end up not going altogether. 

Anyway, on to more exciting things...!!!

This week, we're all kicking it old school at Tuesday Alchemy--vintage! You can see how amateur I am in this area through my card! xD This is my interpretation of "key to my heart."


 I'm normally more of a modern girl, so it was quite a challenge for me. I do apologize if you feel offended that I interpreted vintage crafting as inking the corners in brown and using other muted colors. :X My knowledge of crafting vintage is very limited.

 The words are rub ons and the heart was colored in yellow acrylic paint with bits of white here and there. The surface dried a bit crackled, so I took that as a cue to dab on brown Perfect Pearls to attempt a distressed look. 


It's an awesome prize this week as Flonz is giving away a cool $20 Store Voucher to one lucky winner! Enter your vintage crafts for a chance to win!

This card will be entered in:
-Make It Monday #99

Tuesday, July 3, 2012

Husband & Wife Quilled Blue Flowers Wedding Card

*This post was set up in advance as I am away this week. Comments are always appreciated, but please excuse my delay in responding!!!*

There are many weddings coming up this summer, so I thought I'd take this week's Anything Goes challenge at Tuesday Alchemy to get myself going with wedding cards. Two prizes up for grabs this week: Live A Beadiful Life is offering a $10 gift certificate to one lucky winner and The Greeting Farm is sending over a 4x6 Clear Or Rubber Stamp Set to a second winner! Very exciting prizes!!!
I was inspired by a wedding cake. Can you see where I was going with that? 

I found this Bride and Groom clipart from Computer Clip Art:
I printed it on my inkjet printer after filling the black parts with the color I wanted in Photoshop. 

I used both quilled flowers and white Prima flowers. Prima flower centers are quilled.

Sentiment was wet embossed with detailed silver embossing powder and there are various patterns that I dusted with blue Perfect Pearls, so it'll have a shimmer at certain angles. 
This will be entered in:
-Creatalicious Challenges #35 Anything Goes
-Mema's Crafts July Anything Goes
-Crafty Bloggers Network Monday Challenge #1 Anything Goes
-Make It Monday #96 Anything Goes

Thursday, May 31, 2012

Christmas Quilled Card 2011 # 3

This is the 3rd wreath card I made last Xmas. This wreath was made in a completely different style. You first fringe a strip of paper of your desired length. This length will determine how large your wreath will be initially. Of course you can extend it to however long you want it later by gluing additional paper together. The larger the wreath, the longer the width you'd want the paper strips to be because you don't want it to look too awkward with the open space.
The paper behind the candles is made from a pattern stamp. Then I brushed some perfect pearls to make it shimmer without being an overpowering background.
Here is a close up of the fringed wreath:

Monday, May 21, 2012

Pink Happy Birthday Flower Metal Charm Card

I haven't played with pink for a while, so I was itching to take all of these pink papers out! 


The second picture shows how the Perfect Pearls shimmers at an angle. Sentiment is a rub-on.

You can find this card listed at:
It has been pouring rain here and will be for the next few days. :( Hope it clears up soon!!!

Sweet dreams!

Tuesday, April 3, 2012

Birthday Greetings Purple and Yellow Quilled Balloons

This card continues with the balloons theme from 365 Cards Day 27, uses a sparkle element for Tuesday Alchemy's Challenge #7, but also integrates the card sketch from The Sweet Stop. I knew I wanted to make a birthday card with those balloons!


I used a purple and yellow theme throughout this card. The words and balloon background were stamped and then brushed with Perfect Pearls.

Friday, October 28, 2011

Last October...

Congrats to Jenny & Brian who are now on their honeymoon! It was such a joy to witness their special day! Now that I am retired from helping with their wedding, I can reminisce on the contributions to the crafty aspects of their wedding. Before I do that though, I realized that I've been neglecting many things that are still in my files from the last year (I have developed my own filing system to keep track of the number of cards I have made to date and I also love to see how I've grown over time). I will work on updating those older items before I move into present day.

Here is a quick card I made a year ago.
It's a girlie card. It helps a lot to keep a stash of nicely decorated papers because it makes the process of making a card that much faster. The top portion was punched on the bottom before getting a design Versamark stamped and applying a layer of Perfect Pearls. From there, you will need to tie a bow from ribbon, adhere a fabric flower and a rhinestone center...and there you have it, you're done in a blink of an eye!

Wednesday, August 17, 2011

First Attempt at Banner Card

Making this card felt like making 3 cards! Once you have the idea down, it's a breeze though since you're just duplicating everything however many times you need it. I was thinking I'd play around with textures and applied flock to the letters, but in hindsight I feel that the color withdrew from it. I winded up choosing a brighter ribbon to go on top. Also, I originally used the same background color, but I stupidly measured the incorrect size and ran out of the color! I admit, this one in the picture is not as nice as I would have liked it to be but I won't lie, I was TIIIIRED of playing with it and gave up. I'm not proud of that, but this is the best that I can do with the time that I have.


Why do I care about time you might wonder? Well we are MOVING once AGAIN! This time we're moving to Astoria which is in Queens. I have got to say that I am not looking forward to this process. Wish me luck!

Monday, May 16, 2011

Pink, More Postcard Than Card, Birthday Card

I was trying something different with the birthday card this time around. What would normally be on the inside of the card, is displayed as both the inside and out. That is why I refer to it as more of a postcard (with an envelope) than a traditional card.

-Size a piece of card stock to desired measurements.

-Lay a cut to size piece of patterned paper on top of it.

-Create a one inch wrap with another type of card stock (I applied a bluish tinted Pearl Ex to the white parts though you may or may not be able to see it).

-Print text onto vellum and apply on top of the base of the card.

-Punch a hole to set an eyelet where the sheer pink ribbon bow will be tied on top.

Thursday, September 16, 2010

Flower Thank You Note Card

You don't always have to send over an entire card to express your thanks. Why not a dressed up note card? On the back side of the card, I attached my note.

Tuesday, September 14, 2010

Forever...a Wedding Card

I really should be unpacking, but I'm not...:X

This is a wedding card for my friend, Katie, who tied the knot back in July. It was very quick to make as I used stickers. The yellow Prima flower was dusted with perfect pearls and the pretty floral ribbon matched nicely thanks to the array of black dots sprawled all over the background.

Enjoy your Tuesday!

Saturday, September 11, 2010

Little One

With one of my friend's first child on the way, I have created a card to give to her at the baby shower next Sunday. She is due to have a boy in December, so I chose the color blue. I really hope she doesn't take a look here before I give it to her! =X

I used Perfect Pearls for the cat face on the bib (my friend thought it was a toilet and the pattern paper reminded him of bathroom tiles...I guess a bib doesn't come to mind right away, but I hope she gets it. :D).
This is the interior:
I used scalloped scissors to form the frilling of the bib.

I won't have internet for a few days due to the move this weekend, but Cablevision plans to come on Monday to restore service at the new apartment so I'll be back online then. I hope you all have a fun-filled weekend.

Monday, September 6, 2010

First Time With Someone Else

I hope everyone's long weekend was as great as the weather here! It was a comfortable 75 all weekend long with no rain and a lot of sunshine.

On Sunday, I made a card for the first time with someone else. Ellen needed a wedding card and it was her first time. I wasn't very good at giving instructions, but she picked up on things quickly anyway. :P This is what we came up with:

Wednesday, September 1, 2010

Modern Thank You

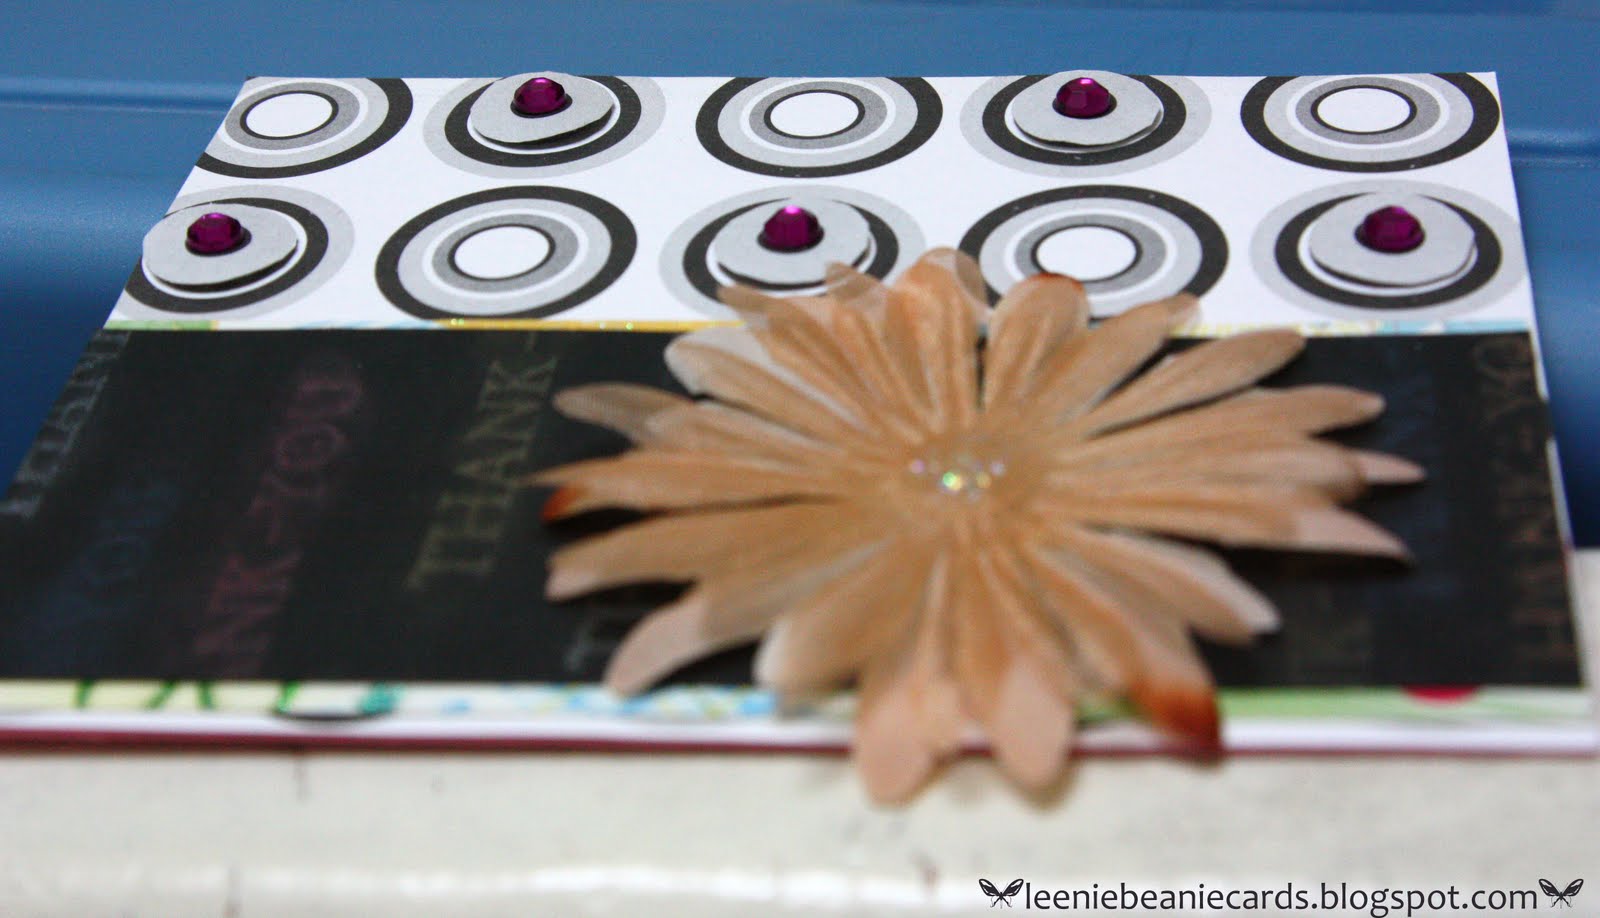
This is a card I made for one of my girlfriends. You can see from the picture below that I cut out extra circles and propped them up on pop-up squares and then centered a rhinestone on each of those raised circles.

Supplies:
-Rhinestones
-Large fabric flower
-Glitter glue
-"Thank you" stamp
-Watermark ink
-Perfect pearls
-Patterned paper (One type with circles)
-Extra cutouts of circles (the size of those on the patterned paper)
-Adhesive

Tuesday, August 31, 2010

Very Versatile Thank You + Free Digi Stamp

Last Wednesday, we went to see the circus in Coney Island. We were 6 rows from the front in the already small arena in Coney Island. It was a great show for the $10 that we paid. My parents loved it and we've never seen animals so obedient. People say that they mistreat their animals, but we didn't notice any signs of that. Though they used a whip on the floor, they never harmed the animals. Here is the only picture I took there when they allowed cameras.
The card that I want to talk about today is very versatile--it is mature, unisex, and can be used for a variety of occasions. The first 2 photos show how it changes under different light and the last photo is what I did to the interior.
For the front:
-Double-sided adhesive tape (heat safe)
-Stickopotamus vellum stickers of leaves
-1.25" square of white card stock
-1.50" square of designer card stock
-Green pigment ink to ink all the corners
-Designer card stock
-White card stock for the card base (will stand 6"x4")
-Tape runner adhesive

For the inside:
-"Thank you" stamp
-Perfect pearls in green
-brush
-Watermark ink
-Green and white colored paper
-Border punch of your choice


If you'd like me to send you the digi stamp (he is about 1.5"x 2" if you don't adjust the image), please post a comment in the comments section of this blog post only. I will not spam you. Please allow 24 hours for me to get it to you.