Showing posts with label glitter glue. Show all posts

Monday, April 23, 2012

Feel Better Soon Quilled Yellow Flowers Handmade Card

Hope you're having a great evening!

I made an uplifting card that can be given to those who aren't feeling their best. A little love and care can go a long way in helping someone along a speedy recovery.
This card features 2 yellow quilled flowers. The centers were made with green and yellow quilling paper and dotted with metallic gold paint. Leaves are a turquoise-colored paper.
 "Feel better soon" sentiment was wet embossed on heavy card stock.
Flourishes are rub-on stickers and are dotted with glitter in select areas.
Tuesday Alchemy's new challenge is coming up soon! Stay tuned because this week will be a sponsored challenge! Info to come!

Have a great night!

Saturday, January 14, 2012

Double Pocket Card with Vellum Bookmarks

This is a project that I found on Splitcoaststampers.com. This project can be found here: http://www.splitcoaststampers.com/resources/tutorials/diagonal_double_pocket_card/. You can leave it as is or you can attach it to a blank card to use as a standard card. I kept it simple and left it as is to use a bookmark holders.

These are the bookmarks I made from vellum. I chose green and yellow colors to go with the patterned paper used for the pockets. Disregard the blue ribbon; I was just trying to use up the last of it. :X The designs were made from using stamps and Versamark ink and then wet embossing it with a sort of pearlescent opaque embossing powder. To attach the ribbon, I hole-punched the top of the paper, set an eyelet, and strung the ribbon through followed by a knot.
Here you have the double pocket card by itself. As you can see, I spent very little time decorating it. I used the tiny Prima flowers sold in little bottles and the center is just lightly kissed with glitter glue.

So there you have a simple and inexpensive gift for all the book lovers out there!

Tuesday, November 15, 2011

Cousin's Wedding

Back in August, I attended my cousin's wedding. As with any Chinese celebratory events, white is not an acceptable color. Despite that tradition, I do like the pureness of white and its roots in American culture so I don't really hold back especially when I know that the couple themselves aren't tradition. In this case, my cousin was marrying a Jewish man. When you're willing to branch out in that way, traditions are loosely followed. Therefore, I made a card with "inappropriate" colors but then followed through to disguise the card by creating an envelope that isn't predominantly white. This pleases my aunt and uncle because they will not see anything but the exterior...hopefully...


Friday, September 30, 2011

For Jenny's Bridal Shower

Looks like I am averaging one post a month. Not exactly what I would've liked. We've moved again. This time to Queens. We're far from being settled, but I feel that I should be doing a better job of updating the blog as I am still attempting to craft in this mess. :D

Last Saturday I went to a Jenny's bridal shower. I had a really good time and met some cool girls. I got a chance to play with fondant for the first time during a mini-cake purse decorating session which was pretty exciting! It requires much more skill than people appreciate in passing!

Since I have an opportunity now, I want to update pics of the note card and thank you cards I made for her:

*This card became a note card due to an error made in haste...I decorated the whole thing only to realize that it was a bit too large for the card I had on hand and also didn't have the time to make a new blank card! Silly me!


*The following two photos are of the thank you cards that I made. I had to make small envelopes to fit this custom size as well.


*Tied them with ribbon.


*After putting them into separate ziplock bags, I filled the glass picture vase I bought on the side.


That completes the gift! Looking forward to her wedding in 3 weeks!

Friday, March 4, 2011

X-mas Mousey '09

This was a card I attempted to imitate from Paper Crafts magazine's Nov/Dec '09 issue. It was titled, "Not a Creature was Stirring Card," and it featured a mouse.

This wasn't a card that I made recently, but I thought I'd get it up here to remind you or offer more ideas since I know another year is coming around soon enough.


Tuesday, March 1, 2011

It's March!

Hi everyone!

First off, congrats to one of my best friends--Jenny--on her engagement to Brian! I can't help but feel relief because this is an indication to me that the bad year is well behind us and this year is going to bring so much more happiness and good memories.

I'm going to take you back to December for a bit to show you the stocking cards that I made:
The coordinating envelopes:

Tuesday, February 15, 2011

The Best


My boyfriend is THE BEST! He surprised me with potted azaleas last night. :) I am being very honest when I say surprised because I truly wasn't expecting anything. Normally, we aren't very big on celebrating in any fashion. I told him one time that I wasn't too into fresh cut flowers because they're only pretty for a little while, so why kill them for such a small return on pleasure and he's been getting me planted flowers ever since! I can't wait until they bloom!

Continuing with the "The Best" theme...this upbeat card can work for a few occasions. I can think of it being used as a "Thank you" or a "Happy Birthday" card. This particular card was given to one of my best friends for her birthday. You can continue the saying on the inside of the card, "...friend," "...birthday," etc.--whatever you like!

This card isn't very heavy on technique, but is very heavy on layering patterned paper. The little bear resting on the circle was first stamped, then colored in with colored pencils, and then wet embossed over the entire image with clear embossing powder to give it a glossy look. Two small prima flowers embellish the bottom right of the circle and glitter glue was applied to small areas on the flourish and the bear/bouquet.

Monday, February 14, 2011

X-mas Tree '10 Card

Today seems like a good day to catch up on the blog for a bit.

This is a card that I designed myself on Illustrator. It isn't the prettiest card, but I tried...lol Also, the size wasn't ideal. As you can see in the picture, the envelope had to be custom-made to be humongous! I believe it is the largest card that I've made so far!


An eyelet is what keeps the top piece held together underneath the star. The card was printed on white cardstock before getting made up. Each metallic cardstock layer is propped up by foam pop-up adhesive. Again, this isn't the prettiest card, but I was sure proud of the sketching and planning that went into it after. You can post below if you'd like me to send you the template for it through e-mail.

Thursday, December 9, 2010

Quilled Snowflake-Xmas Tree Card


I took a little break from card making and now I'm rushing to finish in time~ahhh!!!

The top left quilled snowflake you may remember from a previous entry and the tree on the bottom right, I created on my own out of desperation for another item to balance out the card. The envelope in the picture will be accompanying the card and was made from the Crafter's Companion--4"x4" envelope.

I hope you're all having a blast creating holidays cards, if you haven't done so already!!!

Thursday, November 4, 2010

Holidays are Coming!

This is a card I made last year for my friend, Jenny.  The snowman was taken from these Inkadinkado clear stamps set and although it is hard to see, the snowman was wet embossed with black powder. The wreath of snowflakes was created from Cuttlebug die cuts and the dots on the bottom right, inner circle were dry embossed using a Cuttlebug embossing folder. Pearl-colored beads, glitter glue, and rhinestones top off the embellishing finishes.

Monday, September 6, 2010

First Time With Someone Else

I hope everyone's long weekend was as great as the weather here! It was a comfortable 75 all weekend long with no rain and a lot of sunshine.

On Sunday, I made a card for the first time with someone else. Ellen needed a wedding card and it was her first time. I wasn't very good at giving instructions, but she picked up on things quickly anyway. :P This is what we came up with:

Wednesday, September 1, 2010

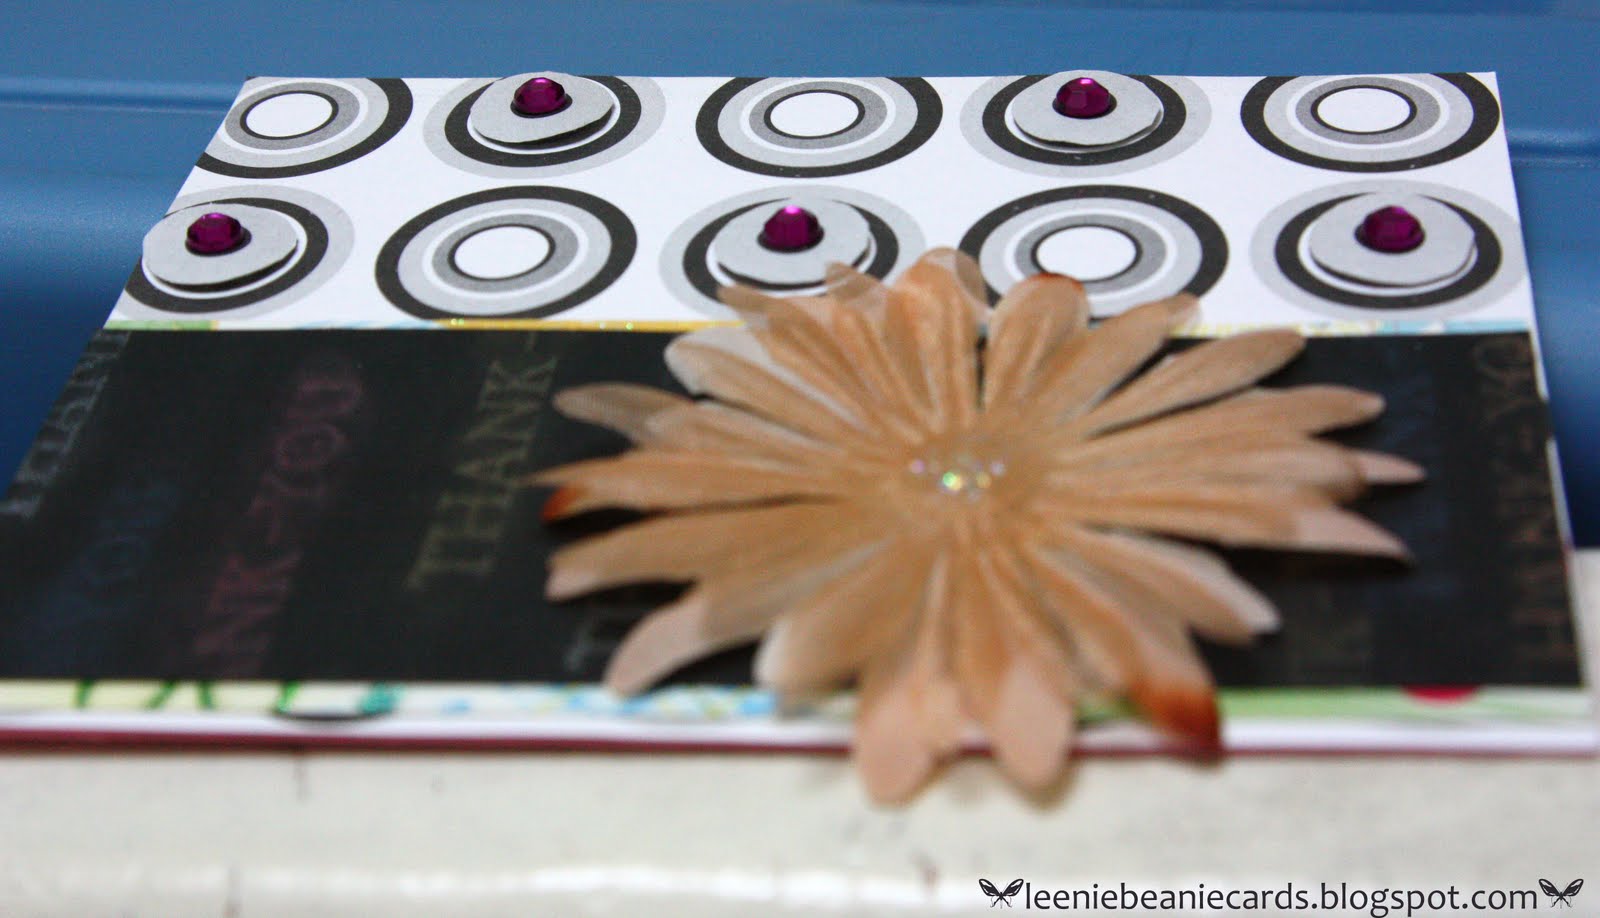
Modern Thank You

This is a card I made for one of my girlfriends. You can see from the picture below that I cut out extra circles and propped them up on pop-up squares and then centered a rhinestone on each of those raised circles.

Supplies:
-Rhinestones
-Large fabric flower
-Glitter glue
-"Thank you" stamp
-Watermark ink
-Perfect pearls
-Patterned paper (One type with circles)
-Extra cutouts of circles (the size of those on the patterned paper)
-Adhesive

Saturday, August 28, 2010

Interior Design (In the Card Sense)

I was reading an article about using credit cards overseas. You might want to read it if you're planning to travel internationally any time in the near future. I had no idea how far behind we are just because credit card companies want to save a couple of bucks. It'd be nice if they can start implementing more security features as other countries already have; the additional pin needed to charge a purchase sounds like a great idea. It reminds me of a debit card. It'd protect many more people from theft.


Today I wanted to talk about what can go inside your beautiful card. This is a neat way to spice up the inside of a blank card. Choose a paper that goes along with the color scheme of the card and cut out tiny rectangles to use as borders on opposing corners. These will be placed behind the sheet of paper in which you will write your text. Underneath this set up, use a rub-on sticker that is large enough to peek out from behind the other layers of paper. Use glitter glue to embellish select areas of the rub-on.

Enjoy the rest of your Saturday night!

Monday, August 23, 2010

A Card for All Occasions


The weather has been nasty for the last couple of days here in Brooklyn. It makes you want to stay inside all day. There's no better time for crafting than on these days. =)


Here I have for you a card that I made a long time ago. Please disregard the flower. It was beaten up from the poor packaging even before I opened it.


Supplies:

-Paper flower (Prima flowers)
-Glitter glue
-Embossing folders
-Die cut/embossing machine
-Cardstock
-Rhinestone
-Adhesive

Have a nice day,